
If you just got a Cricut, adhesive vinyl projects are the perfect place to start. They’re quick, inexpensive, and make great gifts. In this roundup I’m sharing my favorite easy Cricut adhesive vinyl projects for beginners, mostly on dollar store mugs and cups, along with the tips I wish I’d known when I started.
As an Amazon Associate I earn from qualifying purchases. Some links in this post are affiliate links, so I may earn a small commission at no extra cost to you.
Supplies for Adhesive Vinyl Projects
- Cricut cutting machine and mats
- Oracal 651 permanent vinyl (or holographic adhesive vinyl)
- Weeding tools
- Transfer tape and a scraper
- Rubbing alcohol and a soft cloth
- Blank mugs, cups, or glasses (the dollar store is great for practice)
- A heat gun for removing sticky labels
Beginner Tips Before You Start
- Remember 631 vs. 651: 631 has a 3, think “T” for temporary. 651 has a 5, think “F” for final, or permanent. Use 651 for anything that will be washed.
- Remove sticky labels with heat. Hit the label with a heat gun for a few seconds and it peels off in one piece. This works on shipping boxes too.
- Clean with alcohol. Wipe the surface with rubbing alcohol and let it dry completely. Leftover moisture or oils can keep vinyl from sticking.
- Measure first. Most mugs fit a design about 3 inches wide by 2.5 to 3 inches tall. Think about which hand you drink with so the design faces you or faces out.
- Don’t mirror adhesive vinyl. Mirroring is only for iron-on (HTV).
- Hand wash only. Vinyl mugs aren’t dishwasher safe, but on a clean surface they last a long time.
Project 1: Halloween Coffee Mug
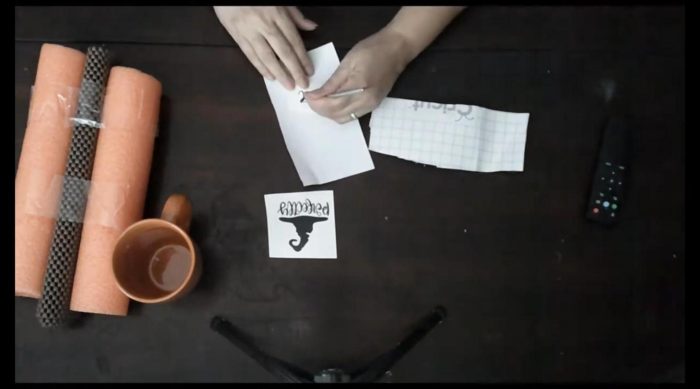
I found an orange coffee mug at the dollar store and turned it into a “Perfectly Wicked” Halloween cup. In Cricut Design Space, go to Images and search “Halloween.” Many designs are free, and more come with Cricut Access. I chose a simple two-color design (black and green), resized it to about 3 inches wide, and cut each color from Oracal 651 with the fine point blade. Weed each layer, then use transfer tape to apply the black layer first and the green on top.
Project 2: St. Patrick’s Day Glass Mug
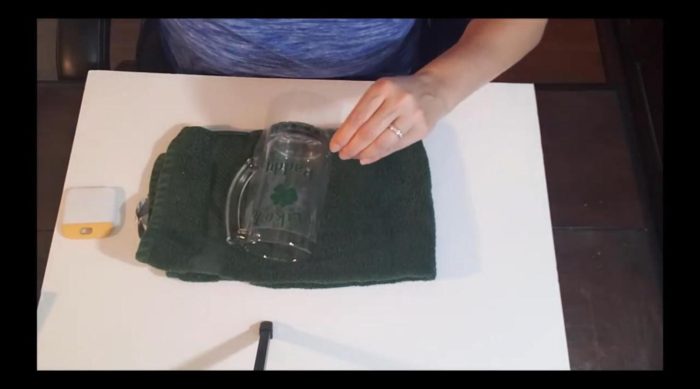
A dollar store glass beer mug becomes a festive St. Patrick’s Day gift in minutes. I searched “shamrock” in Design Space images, added curved text in a brush script font, and kept the whole design about 3 inches by 3 inches. Before clicking Make It, select everything and click Attach so your layout cuts exactly as placed.
Glass tip: Oracal 651 works well on glass, but it can take a little longer to stick. Make sure the glass is completely dry after cleaning, and press firmly from the center out.
Project 3: Personalized Teacher Cup With Layered Vinyl
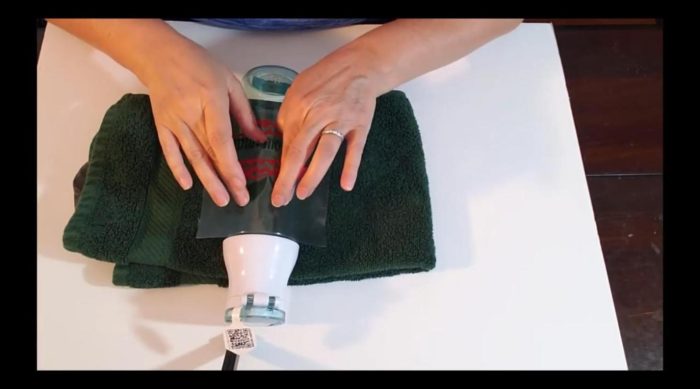
For a teacher gift, I bought an inexpensive apple with chevron SVG on Etsy and added the teacher’s name in Quirky Script. To get the script letters looking right:
- Tighten the letter spacing until the letters touch.
- Ungroup and nudge any letters that sit too far apart, keeping them on the same baseline.
- Select the letters and click Weld so they cut as one connected word.
- Weld or attach the apple pieces together before clicking Make It, or Design Space will scatter them on the mat.
Apply the decal from the center out with a scraper, then peel the transfer tape back slowly at a sharp angle. One lesson from this cup: dark text on a dark cup is hard to read. White or a bright color would have shown up much better.
More Easy Adhesive Vinyl Ideas
Here are a few more quick projects from my channel you can try next:
Easter Bunny Bucket
Vinyl on a Votive Candle Holder
Layering Adhesive Vinyl on a Tumbler
Frequently Asked Questions
What vinyl should I use on mugs?
Use a permanent adhesive vinyl such as Oracal 651, and hand wash the mug.
Do I mirror adhesive vinyl?
No. Only mirror iron-on (heat transfer) vinyl.
Why won’t my vinyl stick to glass?
The glass may still be damp or oily. Clean it with alcohol, let it dry fully, and press firmly with a scraper.
Keep Learning
Learn the Design Space tools behind these projects in my Cricut Design Space beginner guide, or level up to glitter epoxy tumblers. Subscribe to All DIY Crafts on YouTube for more quick Cricut projects.