
One of the easiest ways to personalize a design is to slice a name right out of it. In this beginner tutorial I’ll show you how to use the Slice tool in Cricut Design Space to cut a name into a simple airplane silhouette, then press it onto a kid’s t-shirt with heat transfer vinyl. It’s a quick, adorable gift for any little one who loves airplanes, and the same method works with almost any solid silhouette.
As an Amazon Associate I earn from qualifying purchases. Some links in this post are affiliate links, so I may earn a small commission at no extra cost to you.
Supplies You Need
- Cricut Explore Air or other Cricut
- Heat transfer vinyl (I used gold on a red shirt)
- Cricut EasyPress and a Teflon or pressing sheet
- Weeding tool
- A cotton t-shirt
Step 1: Find a Solid Silhouette
In Design Space, click Images and search for your theme. I searched “airplane” and chose a basic one-color silhouette. Solid shapes work best for slicing, because the name becomes a cut-out that shows the shirt color through it. Change the image color to your vinyl color to preview it (I chose gold).
Measure your shirt first. This little boy’s shirt had a design area of about 4.5 inches.
Step 2: Add the Name
- Click Text and type the name.
- Click Font and choose a fun, bold font. Chunky fonts slice cleanly and stay readable.
- Adjust Letter Space to tighten or loosen the letters.
- Make sure the text is on top (right-click and arrange to front), then rotate and resize it to fit inside the airplane body.
Step 3: Slice
Click Select All, then click Slice at the bottom of the Layers panel. Drag the pieces apart: you’ll have the airplane with the name cut out, plus leftover letter pieces. Delete the extras, and your design is ready.
Slice works best with exactly two items selected: the shape and the text.
Step 4: Mirror and Cut
Because this is iron-on vinyl, you must mirror the design on the Make It screen. Place the HTV shiny side down on the mat, load it, and cut.
Step 5: Weed
I snip a tiny bit off the end of my weeding tool’s tip so it can get into small letters. Pull away the excess vinyl and the inside of each letter so the name is open.
Step 6: Press
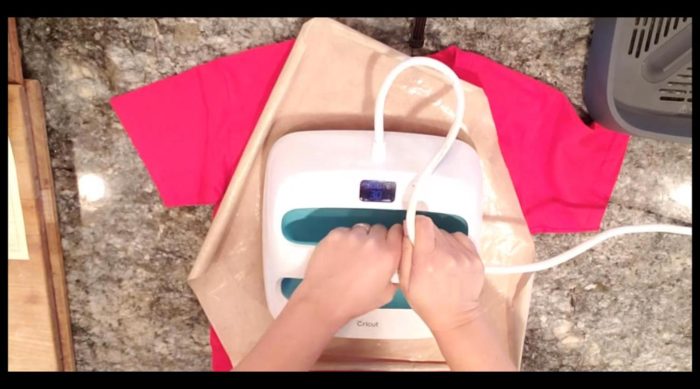
- Set your EasyPress to the temperature recommended for your HTV.
- Lint-roll the shirt, then pre-press it for a couple of seconds to remove moisture.
- Position the design, cover it, and press for about 15 seconds.
- Peel the carrier. If an edge lifts, lay it back down and press again to seal it.
More Slice Ideas
- A heart with a couple’s initials
- A star with a team name
- A state outline with a hometown
- A pumpkin with a child’s name for fall
Frequently Asked Questions
Why won’t Slice work?
Select only the shape and one text layer. If you have more pieces, weld or hide some first.
Do I mirror for a t-shirt?
Yes. Always mirror HTV.
More Design Space Tutorials
See my Slice and Curve tutorial and Design Space beginner guide. Subscribe to All DIY Crafts on YouTube.