Here is a very cute stocking idea using heat transfer vinyl, heat press, and Cricut Design Space.
I wanted to personalize a Christmas stocking for my daughters rabbit named Malibu with HTV Vinyl. I hope that this can give you inspiration to do different types of projects for friends according to the things they love. You can take these suggestions and add your own details and colors to make the perfect stockings or even shirts this holiday season.
You can purchase these stockings at the dollar store or any craft store. For this tutorial, you only need a few basic steps to get this project ready.
First I measure the top of the stocking to see how big I can make the name. For the name I had about 5 to 6 inches wide and 3 inches high to play with for the name on the heat transfer vinyl.
I typed the name Malibu into Cricut Design space and used Quirky font. Cricut has a wide selection of fonts and I found this one to work best.
When you first type the name out for this project the name will look separated.
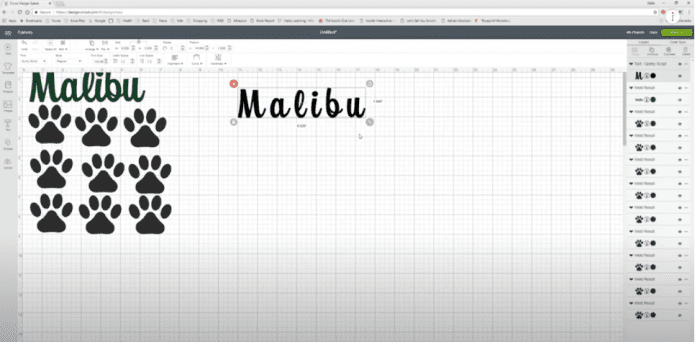
Click on the name, then move up to “Letter Space” and close the gap between the letters. Once you have the name with the correct measurements, you will want to select it again and click “Weld” on the bottom right. If you do not do this the machine will cut heat transfer vinyl with breaks between each letter. For the name I will be using glitter htv.
For the paw prints pattern in this design, I found some on the internet png format. I resized them to 2 inches by 2 inches. I then copied them several times so that the measurments with the same.
I made the paw prints and name in a different colors so the the Cricut would cut htv vinyl separately.
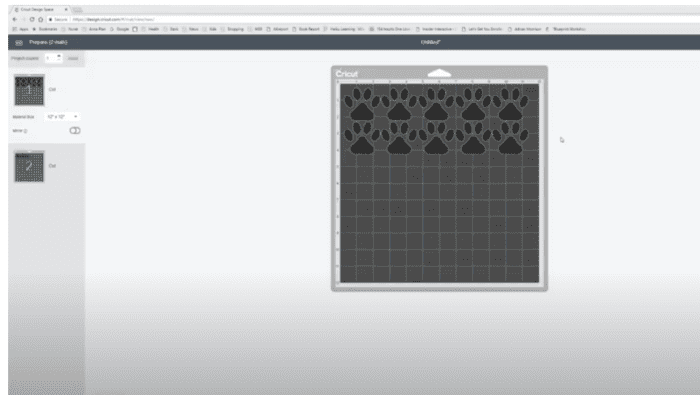
Each stocking will take about 5 paw prints, of course you can alter this a bit as needed. I used black colored htv vinyl for the paws.
Cutting the Heat Transfer HTV Vinyl
We are now ready to cut heat transfer vinyl with the cricut. It is important that you Mirror the name in the design. This is the same for t shirts too.
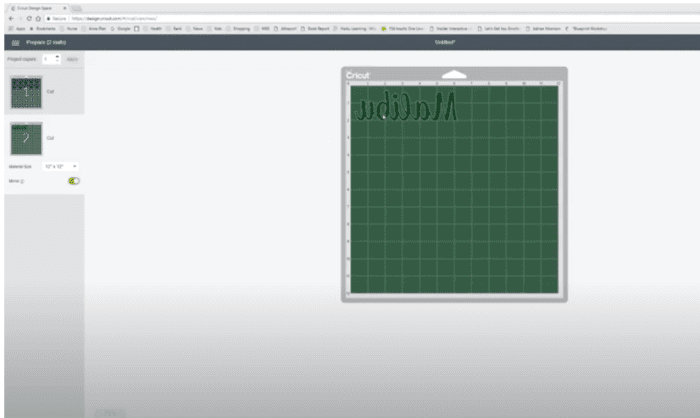
It is also important to remember to place the glossy side down in the Cricut maker. I cut the glitter htv vinyl first. Save all of your excess material, you would be amazed by how many used materials you can use in future projects.
After cutting the htv vinyl it is time to weed the vinyl.
Heat Press the HTV Vinyl onto the Stocking
I am using the Cricut Easy Press to heat the heat transfer vinyl onto the fabric. You can use any type of heat transfer machine for this. You may need to play with the heat temperature settings for you material.
I do not use a regular iron for this type of project because it is very hard for me to get the right temperatures for heating. Adding the correct pressure is also a challenge. So if possible always use htv with a heat press.
I have the Cricut Easy Press set up for 320 degrees and the timer for 20 seconds. Position the name on the top part of the stocking material.
I use a teflon pad on top of the vinyl to protect the materieal underneath. I haven’t used parchment paper since with the teflon, I can re-use for many projects over and over again.
After you press the name, you can position the paw prints any way that you like before applying heat.
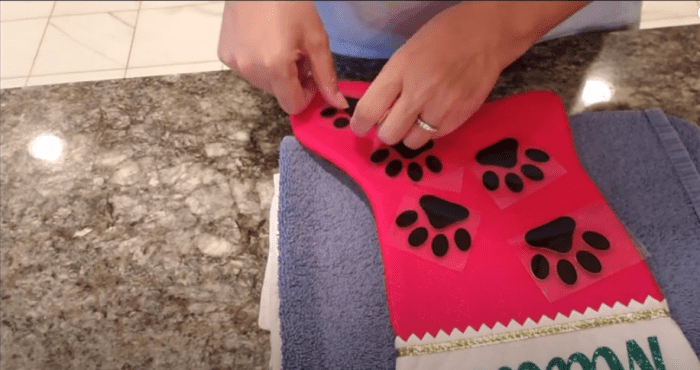
This heat transfer vinyl is a warm peel. So carefully pull up on the clear carrier sheet. If the vinyl pulls up too, you need to re-press for a few more seconds.
Once you have all the vinyl transferred to the material, I will place the teflon sheet once more and press down on the whole design for a few seconds, just to make sure it is adhered.
If you would like to see a step by step video of this tutorial, we have the complete video up on Youtube.