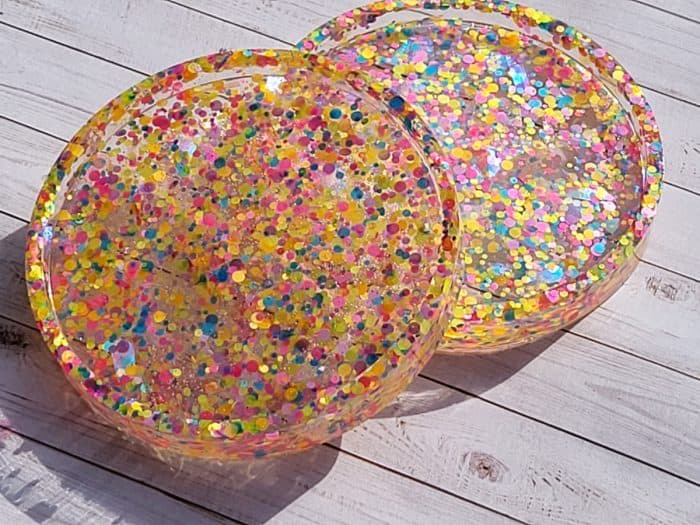
Ready to level up your home decor game with a fun, colorful craft? These DIY confetti resin coasters are the perfect place to start. Making resin coasters is easy, and all you need is some epoxy resin and colorful confetti. Plus, they make great gifts for friends and family! So let’s get crafting – here’s how to make confetti resin coasters for beginners.
First, find a mold that fits your needs – silicone molds are the best option because they’re reusable and easy to work with. You can find all sorts of shapes and sizes at craft stores or online. Once you have your mold ready, it’s time to mix the epoxy resin. Make sure you follow the directions on the package, and mix your resin thoroughly to ensure an even finish.
Supplies Needed
- Confetti Glitter
- Iridescent Glitter Flakes
- Art Resin
- Coaster Silicone Mold
- Silicone Mat
- Resin Mixing Cups
- Heat Gun
- Resin Curing Machine (Optional)
Clear your Work Area
Make sure your work area and clean and dry and free from anything that may get caught up in the resin as you are making your project.
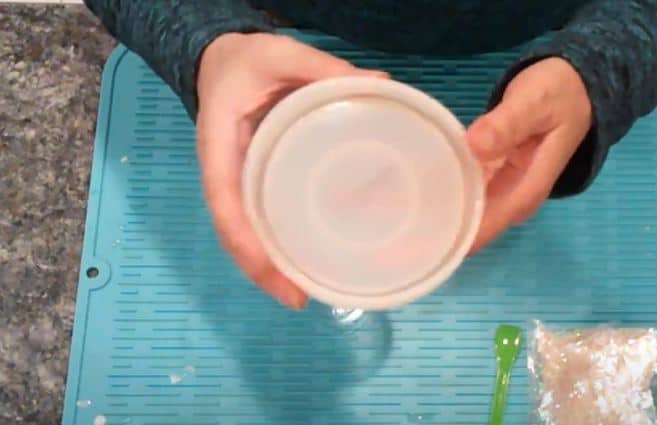
If it is a mold that you use a lot or very little, make sure it is clean. You can rub a damp papertowel around the mold to get any material that may have gotten inside.
I use a silicone mat that has small grooves it to catch any resin or glitter that may fall. It usually goes into the grove and does not interfer with the project at hand.
I have used these coaster molds before and have written on the back with a sharpie that it will take 100mL of resin.
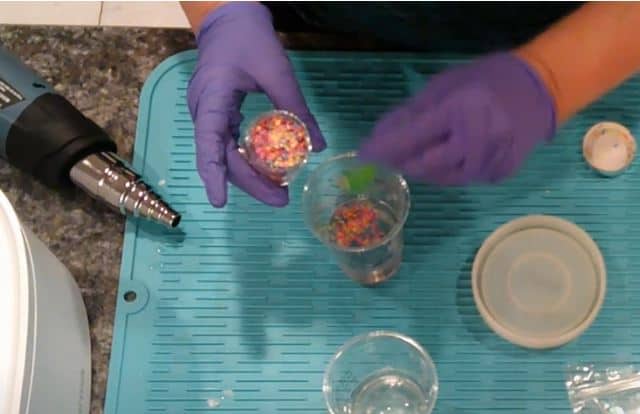
Since I am using Art Resin, I will pour 50mL of part A and 50mL of part B in my measuring cup. Stir slowly for at least 3 minutes. If yo stir too fast you will get lots of small bubbles and it will difficult to disolve them.
Mix your Resin and Glitter
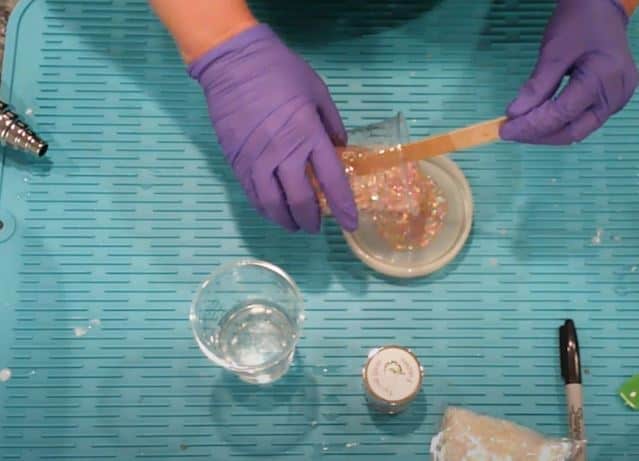
After I am sure that my resin is well mixed, I will add my glitters. I will mix with a wooden stick until the glitter is completely mixed with the glitter and it looks nicely dispersed.
Pour the Resin into the Mold
When you are ready slowly start pouring the resin into your coaster mold. Start to pour slowly in the middle letting the resin fall down the sides of the inside of the mold. Once the sides are filled, take a skewer or a toothpick and carefully run it around the edges of the mold so that you can break up any air bubbles at the bottom.
Grab your heat gun and carefully pop the air bubbles that have floated to the surface of the mold. At this time I may give the resin a small spritz of alcohol to get any air bubbles that I may have missed.
Curing the Resin
I usually let the resin cure for about 24 hours before I unmold it. But, I have a wonderful fast curing resin machine that will cure it in 2 hours. It did take exactly 2 hours when the resin was hard enough to unmold. This machine is a game changer for resin art. After the 2 hours, the resin will still be pliable but will harding in the next 8 -12 hours as it would normally.
If you liked this project be sure to see my article on Resin Coasters with Dried Flowers