Heat Transfer Vinyl on Neoprene
I wanted to know if it was possible to apply heat transfer vinyl to a neoprene chromebook or laptop computer sleeve.
I bought the neoprene sleeve from Amazon and used Siser brand HTV vinyl. There are many brands of HTV vinyl and a wide selection of colors but this brand has always worked well for me.
The first this I did was measure the material being careful to avoid the zipper as it can melt when heating. I measured the design making sure when I personalize it, it would be large enough to see. Because neoprene fabric stretches, I wanted to avoid using glitter htv vinyl as I was worried that it would not give when stretched.
I deceided to make the design within 6 inches tall by 8 inches wide.
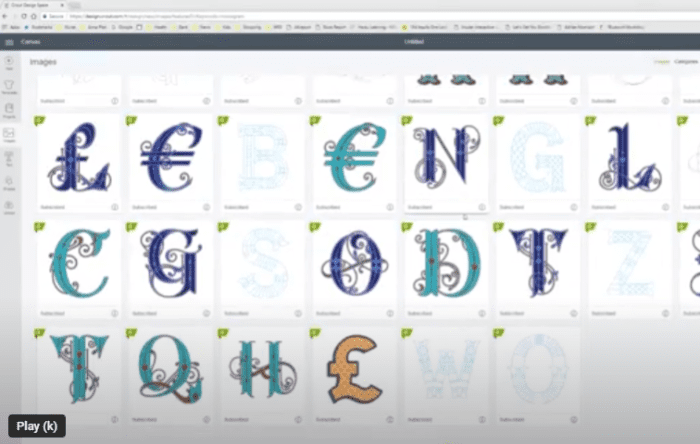
Choosing the HTV Design
I used Cricut Design Space and typed in the word monogram. I do have the Cricut Access subscription and was able to pick a nice mongram for the material. If you do not have Cricut Access, I believe the cost would be about a dollar.
Cutting and Weeding the Heat Transfer Vinyl
I resized the monogram to to 6 inches by 6 inches. I then clicked on “Make It”. It is very inportant to know that you need to MIRROR this before you cut the heat transfer vinyl in the macine.

I place my vinyl on the 12×12 cutting mat. The Cricut will remind you prior to cutting the heat transfer vinyl to have the shiny or glossy side down.
Once the design is completed, it is time for the weeding. This mongram was much quicker to weed than I thought as the whole design was connected.
Transfer HTV Vinyl on Material
Make sure your material is clean and free from dust or lint. I will be using the Cricut Easy Press as my heat press machine on this project. I would not use an iron. I will also grab my teflon sheet. I have heard that you can also use parchment paper.
Place your mongram of design while it is still on the clear carrier sheet face down onto the neoprene sleeve or other material.
Since this is a project with a zipper, I used towels to help with my placement to avoid buring the zipper. The Cricut Easy Press was set at 300 degrees for about 10 seconds based on the heat transfer vinyl instructions. Make sure you push on the machine slightly to make sure you have enough pressure.
Once the heat transfer vinyl is adhered on with the use of the heat press, I will press the vinyl one last time to make sure it is sealed onto the material.
If you want to see a step by step video of this and many more projects on Youtube, simply go to my channel for videos that will give you inspiration and suggestions on many more projects.
Easy diy project on neoprene tablet sleeve