
Looking for a fast Easter craft? This bunny Easter bucket with Cricut printed adhesive vinyl takes just a few minutes and looks adorable filled with treats, eggs, or a small gift. I used a floral patterned vinyl, so there’s no layering, just one cut that looks like it has a dozen colors.
As an Amazon Associate I earn from qualifying purchases. Some links in this post are affiliate links, so I may earn a small commission at no extra cost to you.
Supplies You Need
- A small metal bucket (mine was a pretty aqua one from Hobby Lobby)
- Cricut Explore Air or other Cricut
- Printed (patterned) adhesive vinyl
- Transfer tape and a scraper
- Weeding tool
- Rubbing alcohol
Why Printed Vinyl?
Patterned adhesive vinyl gives you a multi-color look from a single cut. A simple silhouette, like a bunny, becomes a floral design with no layering or lining up colors. It’s perfect for beginners.
Step 1: Choose and Size the Bunny
In Cricut Design Space, click Images and search “rabbit.” Many options come with Cricut Access. Choose a solid silhouette so the pattern can show, and insert it.
- Measure your bucket. My design area was about 3 inches high.
- Set the height to 3 inches with the lock on.
- To make it a little wider without changing the height, unlock the proportions, stretch slightly, then lock again.
Since this is adhesive vinyl, you don’t need to mirror it.
Step 2: Cut and Weed
Load the printed vinyl and cut. Trim the cut piece away from the rest of the sheet so it’s easier to handle, and save the leftover vinyl for another project. Some crafters weed over a light box to see the cut lines, but on most printed vinyl you can see them just fine.
Step 3: Lift With Transfer Tape
Lay transfer tape over the bunny, burnish it with a scraper, and lift the design off the backing. Save the transfer tape backing so you can reuse the tape on future projects.
Step 4: Apply to the Bucket
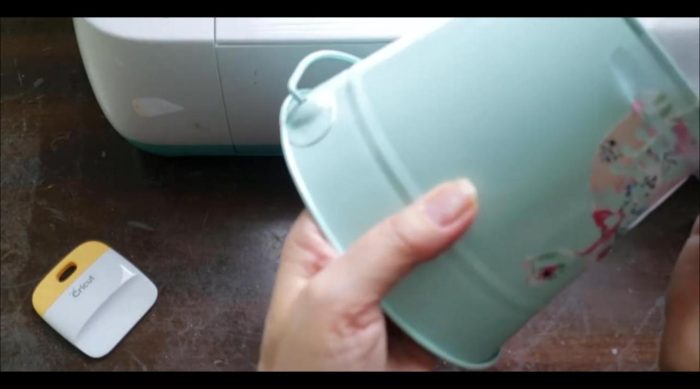
Make sure the bucket surface is clean and dry. Wipe it with rubbing alcohol if needed. Place the bunny, burnish it down, then peel the transfer tape back slowly. Small parts like the feet may want to stay on the tape. Press those spots again and let them release at their own pace. Patience is the key on curved metal.
Easter Bucket Ideas
- Fill with plastic eggs for an egg hunt
- Use as a centerpiece with faux flowers
- Add a child’s name under the bunny
- Make a set in different pastel colors
Frequently Asked Questions
Does printed vinyl need to be mirrored?
No. Printed adhesive vinyl is applied face up, just like regular adhesive vinyl.
Will vinyl stick to a metal bucket?
Yes, if the surface is clean and dry. Burnish well, especially on curves.
More Holiday Projects
See my St. Patrick’s Day mug, fall tumbler, and easy adhesive vinyl projects. Subscribe to All DIY Crafts on YouTube.